What you will need:
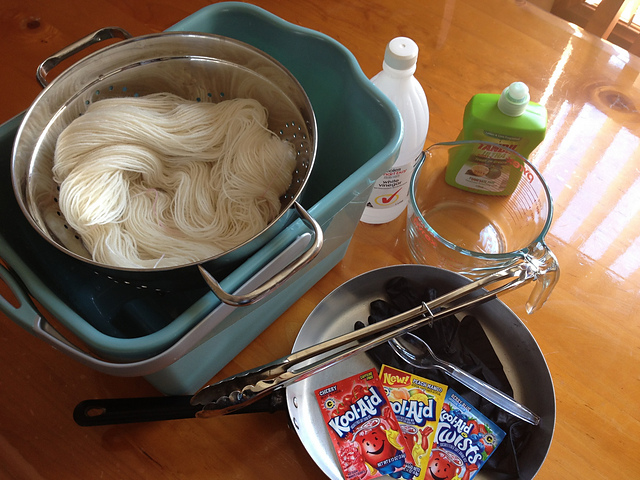
- undyed yarn/top/fibre/scoured fleece
- three different coloured powder dyes. I'm using Kool-Aid today because that's all I have at home. But you can use any acid based dyes or food colourings.
- a frying pan or shallow cooking pot, or electric frying pan.
- a pair of tongs (if you don't want dyeing your fingers too, or burn them!)
- a pair of rubber gloves
- a plastic spoon (mine gives a perfect measure of 5g/0.18oz of powder)
- white vinegar
- dish washing liquid
- a colander for draining
- a bucket for soaking and rinsing
- a water jug for adding water if needed
Step-by-Step Instructions:
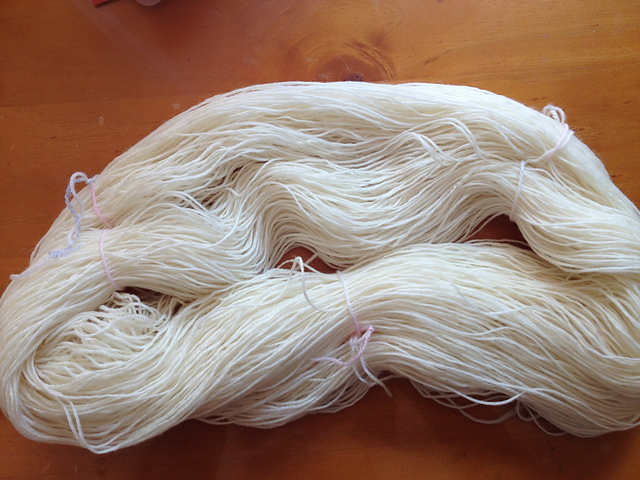
1. Weigh your dry material. The ratio for powdered dye and undyed material is 1:10. For example I'm using 100g of yarn, so I need 10g of dye all together. The 3 packets of Kool-Aid is roughly 10g.
2. Tie your yarn in several places to prevent tangling during the process. If you're using fibre top or scoured fleece you don't need to tie them. (N.B. make sure you don't tie too tightly if you don't want rings of undyed spots where the ties had been)
4. Drain the yarn/fibre/fleece to get rid of excess water. Your undyed material should be thoroughly wet but not dripping.
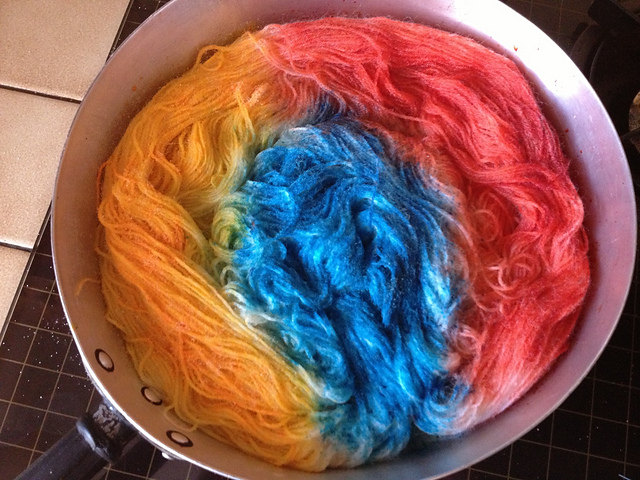
5. Add some water to the pan, not too much because you don't want to submerge the material. Then add a dash of dish washing liquid and a dash of vinegar. - can you see the dish washing liquid in the pan? No need to mix or stir.


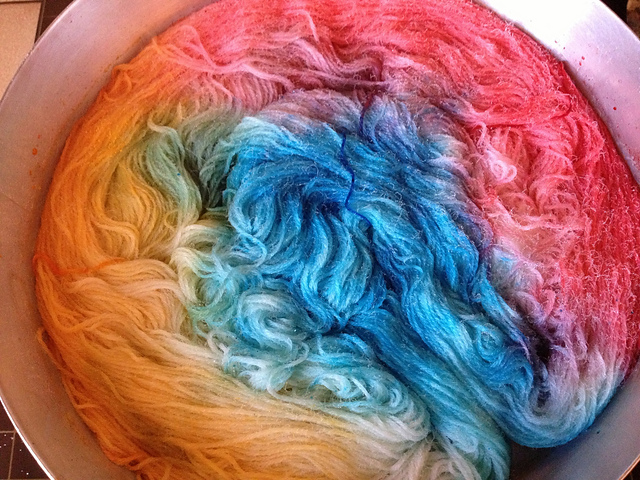
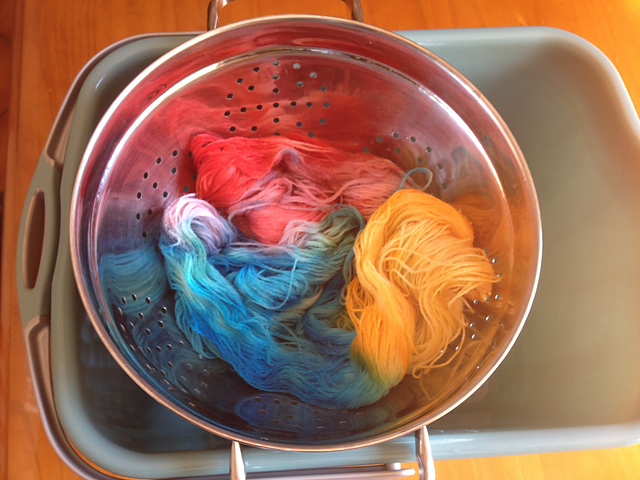
9. After 10 (or 15) minutes turn off the heat and let it cool for 10 minutes. The picture below is after cooking.


Of course you can use any colour combination, last week one of my classmates only used 2 colours (purple and pine green) and the result was stunning. You can also do this in a microwave or an oven, but I haven't tried those methods yet. Knitting-And.com has a post on rainbow dyeing using pre-mixed dye in which you mix the dyes into liquid and pour over the undyed yarn, the result is the same. On reflection I think you can use just one colour and you might get different shades of the same colour or have an semi-solide effect. In fact next time I might do just that :)
Now it's your turn to have fun with Rainbow Dyeing, please do show us what you have created :)
Thanks for dropping by, there is more fibre arts fun at Wisdom Begins in Wonder. Indulge your creative side and join the party!
P.S. Last week someone asked how I got the dark denim blue colour from Kool-Aid, well that's a mix of grape and blueberry, interesting result isn't it :)
Super tutorial!! Thanks for sharing! XO-
ReplyDeleteThis comment has been removed by the author.
ReplyDeleteThanks for sharing. I have tried this with Easter Egg dyes but never with Koolaid. I have a 3 year old packet in my cupboard - I think I might just check it out.
ReplyDeleteI'm with Heather - nice tutorial. And of course great result!
ReplyDeleteThat's a fun yarn.
ReplyDeleteGreat job explaining the process. I love dyeing and always get out the kool aid when my kids want to help. Your yarn is sassy!
ReplyDeleteThanks for posting the tutorial! You make it looks so easy, I really need to try it with the food colorings I have hiding around.
ReplyDeleteIt really is quite easy when you do it :) I've got some food colouring as well, think I will try that when I have more yarn spun up.
DeleteThat looks great but not sure I would actually do it!
ReplyDeleteThanks for posting the tutorial. It looks fantastic! i love how the colours turned out!
ReplyDeleteI don't know how I missed reading this earlier, but here I am! Vivian is right, you made it look so easy! I have "dyeing yarn" on my big list for a Year of Projects and I'm really excited about giving it a try. We always have Kool-Aid at home - I really like the grape and blueberry combo. I think I'll try that and maybe add cherry to get more purples in there!
ReplyDeleteNow what are you going to make??